Quick Start
Before you start, make sure you have sqlite and postgres libraries available. Both of these aren't mandatory but strongly recommended.
With Hyperstack, you'll use sqlite for sketching out ideas, but postgres is what you'll use in production.
Install OS libraries
On macOS you can use the Postgres.app or Homebrew:
brew install postgres
For Linux you can use a suitable package manager for both Postgres and sqlite.
Generate your app
Everything here is yarn or pnpm driven, because that's what we use to build Hyperstack. But if you use npm, that's OK too. Here we go:
yarn create hyperstack
Or,
pnpm create hyperstack
At this point feel free to swap yarn with pnpm through out the docs if you prefer.
This will generate an app for you. The app should contain a few models, controllers and a full test suite.
cd my-hyperstack-app
pnpm install
This will fetch all the dependencies for you. There are many, because Hyperstack does:
- API serving, routing, and export to various standards (OpenAPI)
- Built in JWT based authentication logic and infra
- Data and data modeling with Sequelize
- Background jobs with bullmq
- Mailers with node-mailer and some development goodies (auto email preview)
- Ad-hoc tasks (for cron and others)
- Sets up a magical REPL for day to day productivity
- Uses a generator framework to accelerate all the boring tedious stuff you need to do
- Includes a testing framework for models, requests, workers and more to make testing a breeze
- And much much more
Run your app
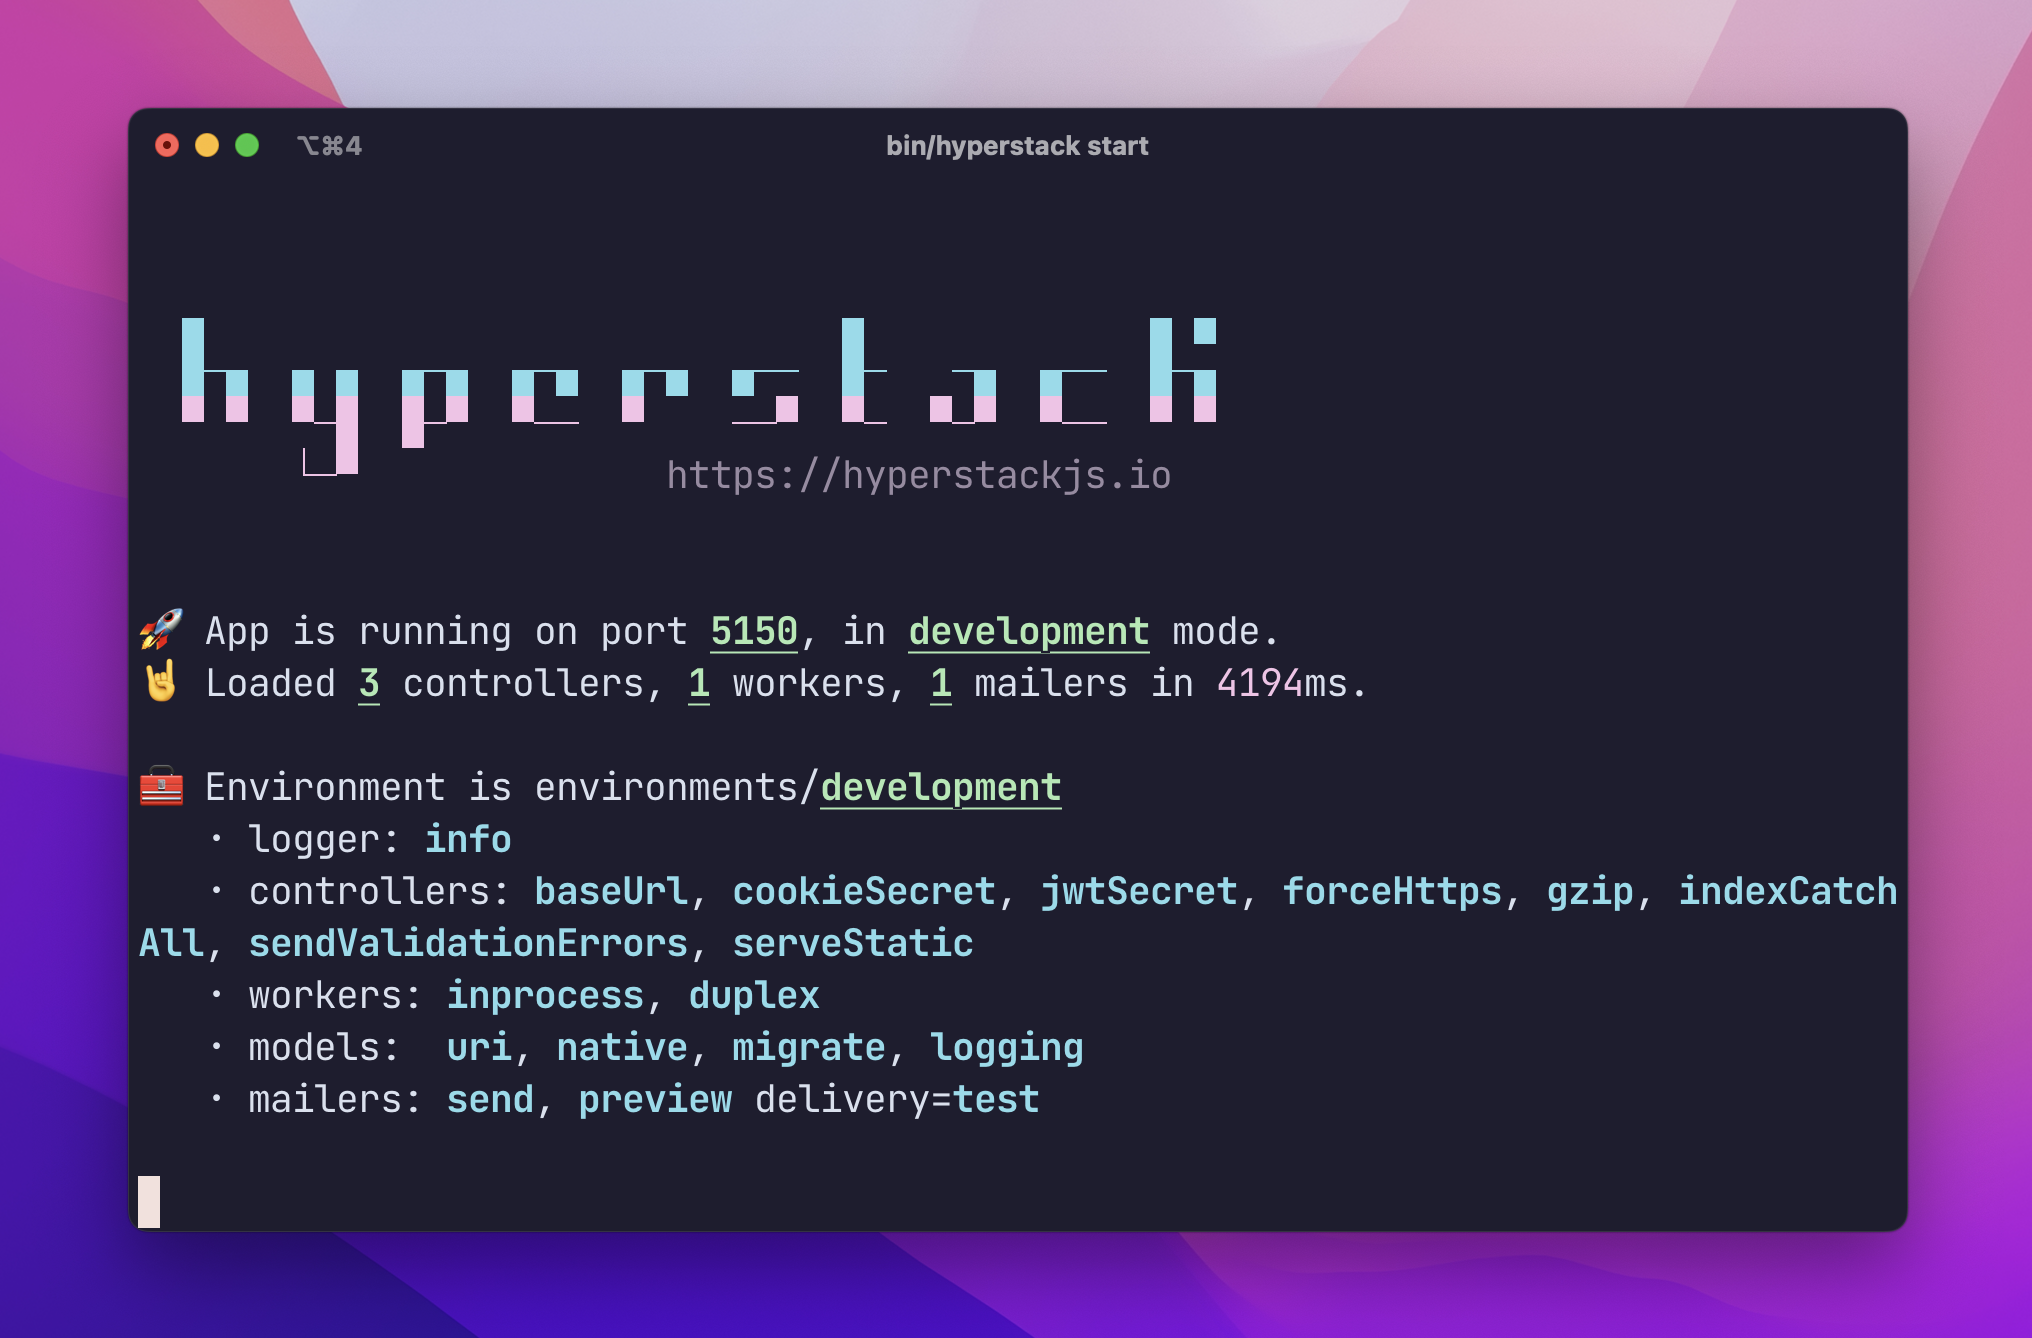
$ bin/hyperstack start
This starts the app. In development mode (the mode you're in right now) it will automatically build database tables and everything that's needed while booting up if it doesn't exist yet.
You'll know it worked when you'll get a short summary of everything that's active:
On a new terminal, let's see what we've got:
$ bin/hyperstack
hyperstack <command>

Commands:
  hyperstack migrate   migrate a database                           [aliases: m]
  hyperstack generate  generate code                                [aliases: g]
  hyperstack seed      seed a database                              [aliases: d]
  hyperstack routes    display app routes                           [aliases: r]
  hyperstack start     start a server, worker or both (default both)[aliases: s]
  hyperstack portal    open a portal to your app as a REPL          [aliases: p]
  hyperstack tasks     run a task                                   [aliases: t]
We want to open up a portal, which is a way to develop interactively with Hyperstack, but first, let's seed the database with some initial fun data:
$ bin/hyperstack seed
You'll see something like this (note that I like to have SQL logs on, so you see some raw queries in the output):
$ bin/hyperstack seed
INFO [2022-01-07 07:46:07.893 +0000]: workers: [in-process, duplex] 1 workers, 1 mailers
Executing (default): SELECT count(*) AS `count` FROM `Users` AS `User` WHERE `User`.`username` = 'alex@example.com';
Executing (default): INSERT INTO `Users` (`id`,`pid`,`username`,`password`,`name`,`emailVerificationToken`,`emailVerificationSentAt`,`emailVerifiedAt`,`createdAt`,`updatedAt`) VALUES (NULL,$1,$2,$3,$4,$5,$6,$7,$8,$9);
Executing (default): INSERT INTO `Notes` (`id`,`pid`,`title`,`content`,`ownerId`,`createdAt`,`updatedAt`) VALUES (NULL,$1,$2,$3,$4,$5,$6);
Executing (default): SELECT count(*) AS `count` FROM `Users` AS `User` WHERE `User`.`username` = 'sammy@example.com';
Executing (default): INSERT INTO `Users` (`id`,`pid`,`username`,`password`,`name`,`emailVerificationToken`,`emailVerificationSentAt`,`emailVerifiedAt`,`createdAt`,`updatedAt`) VALUES (NULL,$1,$2,$3,$4,$5,$6,$7,$8,$9);
Executing (default): INSERT INTO `Notes` (`id`,`pid`,`title`,`content`,`ownerId`,`createdAt`,`updatedAt`) VALUES (NULL,$1,$2,$3,$4,$5,$6);
INFO [2022-01-07 07:46:08.292 +0000]: seed: done
(base)
And now:
$ bin/hyperstack portal
⚡[development] >
The portal is a REPL that drops you right into the current app. You can use the models in your app to view live data, insert data or perform various operations on the model classes themselves.
⚡[development] > .models
Note
User

⚡[development] > await User.findOne()
User {
  dataValues: {
    id: 1,
    pid: '10c9321a-eaa3-4129-84e8-300e9372a5d2',
    username: 'alex@example.com',
    name: 'Alex Van Halen',
    :
    :
But now, let's make it prettier:
⚡[development] > to([await User.findOne()])
pid                                  | username         | name
------------------------------------------------------------------------
c10c9321a-eaa3-4129-84e8-300e9372a5d2 | alex@example.com | Alex Van Halen
We used to which is short for table from object that end users see.
You can also try tr which is table from raw object (that the system sees, which includes stuff like hashed password for the user).
Moving on, you can quickly list the active routes:
⚡[development] > .routes
Auth /auth
  POST  /auth/login
  POST  /auth/register
  GET   /auth/verify
  POST  /auth/forgot
  POST  /auth/reset

  :
  :
Let's make a request. I'm using httpie so I can get a snippet for that:
> .routes httpie
⚡[development] > .routes httpie
Auth /auth
  POST  /auth/login

Shell + Httpie
http POST http://localhost:5150/auth/login

  POST  /auth/register

Shell + Httpie
http POST http://localhost:5150/auth/register

  GET   /auth/verify

Shell + Httpie
http GET http://localhost:5150/auth/verify

  POST  /auth/forgot

Shell + Httpie
http POST http://localhost:5150/auth/forgot

  POST  /auth/reset

Shell + Httpie
http POST http://localhost:5150/auth/reset
Try it out! you have a live app!
Building stuff quickly
Hyperstack includes a generator framework (called Hygen) and a built-in set of templates to accelerate getting started.
Let's add full CRUD abilities with a new entity: Article.
$ bin/hyperstack g scaffold article title:string body:text

Loaded templates: gen/dist/templates
       added: src/test/requests/articles/sanity.spec.ts
       added: src/app/controllers/articles.ts
       added: src/config/db/migrate/1337_article.js
       added: src/test/models/article.spec.ts
       added: src/app/models/article.ts
      inject: src/app/controllers/index.ts
      inject: src/app/controllers/index.ts
      inject: src/app/models/index.ts
✔      shell: running eslint
       shell: yarn eslint --fix src/app/models/*.ts src/app/controllers/*.ts src/test/models/*.spec.ts src/test/requests/articles/*.spec.ts src/config/db/migrate/*.js
This generates:
- Model
- Controller (CRUD, without delete)
- Test suite for model and controller
- Performs linting on the generated material
Run your app again:
bin/hyperstack start
And perform requests (I'm using xh but you can use httpie which is similar, or anything you like).
List:
$ xh -j -b localhost:5150/articles
{
    "articles": []
}
Create:
$ xh -j -b localhost:5150/articles title="hello hyperstack" body="EVH rocks"
{
    "article": {
        "title": "hello hyperstack",
        "body": "EVH rocks"
    }
}
Take a look at the list again:
$ xh -j -b localhost:5150/articles
{
    "articles": [
        {
            "title": "hello hyperstack",
            "body": "EVH rocks"
        }
    ]
}
Update:
If you'll notice, up until now, every time we've got an Article entity, we don't have its ID passed to us on the wire.
Let's add it.
Edit src/app/models/article.ts and add id to the toJSON() serialization function that Article contains.
  //..
  toJSON() {
    const { title, body, id } = this.get() as any
    return {
      id,
      title,
      body,
    }
  }
toJSON() is your way of explicitly controlling what makes it out to the world from your data - it's opt-in rather than opt-out. This is security by design.
And now we've got an ID to use in our updates:
$ xh -j -b localhost:5150/articles
{
    "articles": [
        {
            "id": 2,
            "title": "hello hyperstack",
            "body": "EVH rocks"
        }
    ]
}
Issue an update request:
$ xh -j -b localhost:5150/articles/2 title="hello hyperstack" body="Eddie rocks"
{
    "article": {
        "id": 2,
        "title": "hello hyperstack",
        "body": "Eddie rocks"
    }
}
And just to double check, let's fetch articles again:
$ xh -j -b localhost:5150/articles
{
    "articles": [
        {
            "id": 2,
            "title": "hello hyperstack",
            "body": "Eddie rocks"
        }
    ]
}
We don't generate DELETE by default, out of safety. Let's add that now.
Here's your new controller as it stands right now:
import { Controller, Get, Post, notfound, ok, requires } from 'hyperstack'
import type { Request } from 'hyperstack'
import { z } from 'zod'
import { Article } from '../models/article'

const requireArticleParams = requires(
  z.object({
    title: z.string(),
    body: z.string(),
  })
)
const requireArticleId = requires(z.object({ id: z.string() }))

@Controller('articles')
export class ArticlesController {
  async getArticle(req: Request) {
    const article = await Article.findOne({
      where: requireArticleId(req.params),
    })
    if (!article) {
      throw notfound('article not found')
    }
    return article
  }

  @Get()
  async list() {
    const articles = await Article.findAll()
    return ok({ articles })
  }

  @Post()
  async create(req: Request) {
    const article = await Article.create(requireArticleParams(req.body))
    return ok({ article })
  }

  @Get(':id')
  async get(req: Request) {
    const article = await this.getArticle(req)
    return ok({ article })
  }

  @Post(':id')
  async update(req: Request) {
    const article = await this.getArticle(req)
    await article.update(requireArticleParams(req.body))
    return ok({ article })
  }
}
And let's add a @Delete action at the bottom:
  // :
  // :
  @Post()
  async create(req: Request) {
    const article = await Article.create(requireArticleParams(req.body))
    return ok({ article })
  }

  // don't forget to import {Delete} from 'hyperstack'
  @Delete(':id')
  async remove(req: Request) {
    const article = await this.getArticle(req)
    await article.destroy()
    return ok({ deleted: true })
  }
}
And make the DELETE request:
$ xh -j -b DELETE localhost:5150/articles/2
{
    "deleted": true
}
Boom, it's gone:
$ xh -j -b localhost:5150/articles
{
    "articles": []
}
Done!
If you take a look at the controller again, we can't help it but mentioning that we're doing security by default again: look at the strong parameters and all that nice stuff.
And here's your new model, completely generated:
import {
  HyperModel,
  Schema,
} from 'hyperstack'
const {
  AllowNull,
  Column,
  DataType,
  Table,
} = Schema

@Table
class Article extends HyperModel<Partial<Article>> {
  @Column
  title: string

  @Column(DataType.TEXT)
  body: string

  toJSON() {
    const { id, title, body } = this.get() as any
    return {
      id,
      title,
      body,
    }
  }
}
export { Article }
Again, security by default. We're explicitly naming fields to be serialized to the outside world in toJSON().
And here's an automatically generated request test (in test/requests/articles/sanity.spec.ts):
import { test } from '@hyperstackjs/testing'
import { root } from '../../../config/settings'
import { appContext } from '../../../app'

const {
  requests,
  matchers: { matchRequestWithSnapshot },
} = test(root)

describe('requests', () => {
  describe('/articles', () => {
    requests('all', async (request) => {
      const { Article } = appContext.models()
      await Article.create({
        title: 'string',
        body: 'some text',
      })

      await matchRequestWithSnapshot(200, request().get(`/articles`))
    })
  })
})
The testing framework takes care of booting the app, setting up an ad-hoc server, cleaning the database, syncing migrations and more, all before a single test runs. It makes testing fun again if you don't have to code all that infrastructure.
That's it!
Next, let's review what's in a Hyperstack app.